Drupal is one of the most popular blogging and content management platforms available today. What makes Drupal so popular is that it allows users to create entire websites and blogs without the need to acquire information about complicated code. This allowed many amateurs with great content to enter the blogging sphere without the need to worry about the technical aspects of web design. Not only did Drupal arm private bloggers with the ability to share content, it also brought marketers with little to know web design experience into the mix giving them the opportunity to market their products online without having to incur unnecessary expenses of hiring a web developer.
Views is a module on Drupal which allows you to create complex layouts and lists. It is the second most downloaded module on Drupal since it allows users with a lot of flexibility.
Login to the Dashboard
Log in to the Drupal site as admin and access the modules tab shown on top.
When the pop-up window appears, you will see a list of modules that have been preinstalled onto your blog.
Download Views
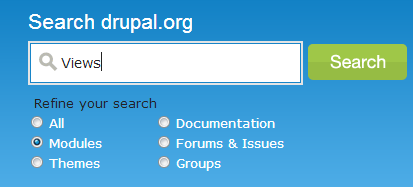
Visit Drupal.org and type views into the search box.
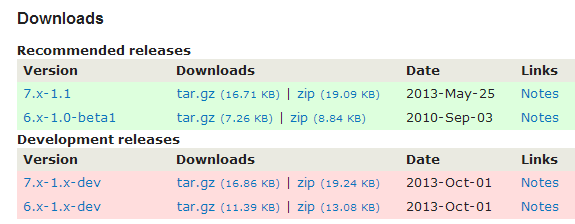
Download the relevant zipped file to your computer and log into your Drupal blog.
Adding a Module
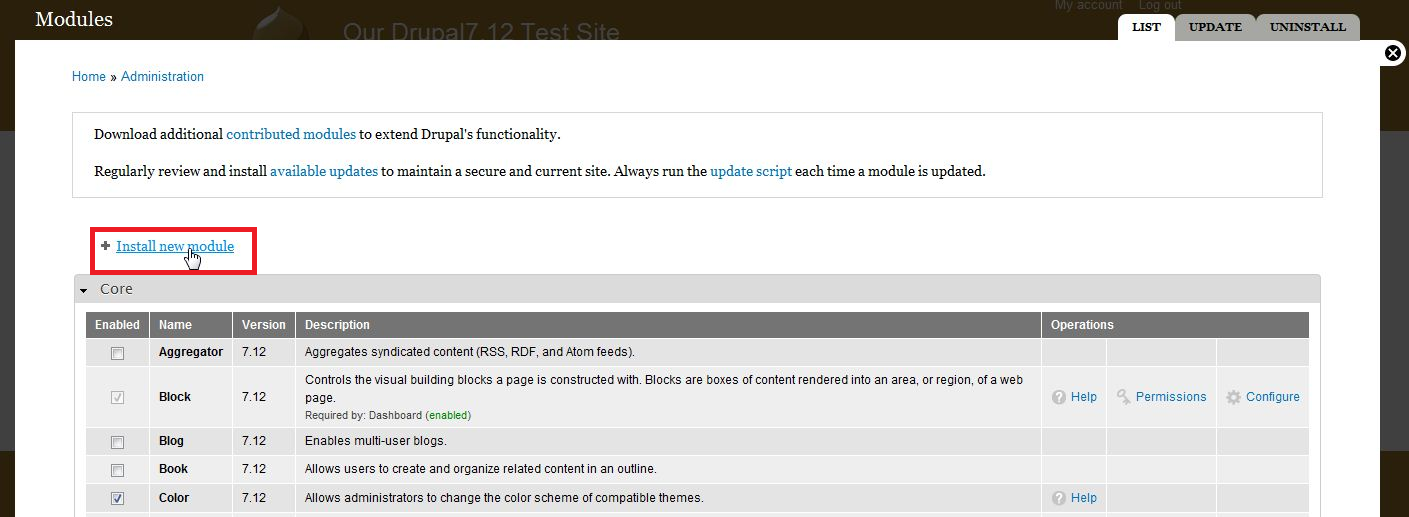
Click on the ‘Add New module’ option in order to proceed.
At this point you will be prompted to locate the zipped file you downloaded earlier and select it. Click on the ‘Install’ button to install it to your blog. Once installed enable it like you would any other module from the list in your dashboard.
Configuring Views
The next step is to go back to your dashboard and click on ‘Structure’.
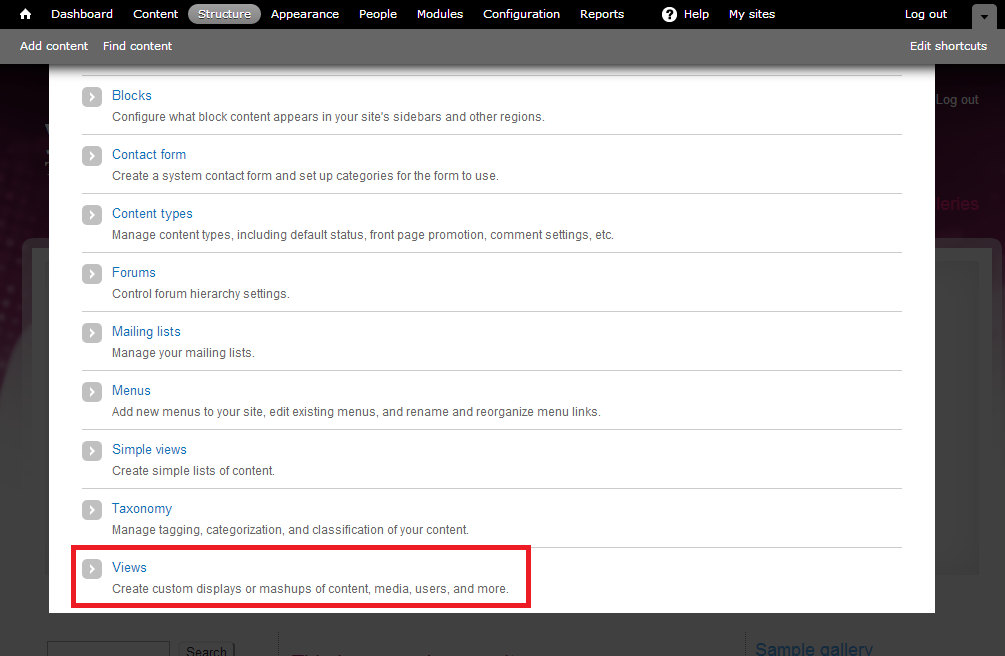
Under the structures tab you should be able to view a list options. Views should now be showing up as one of the options.
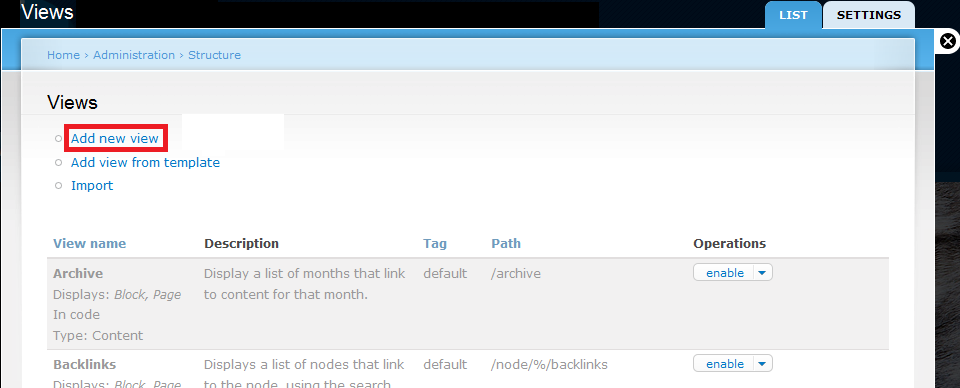
Once you’ve clicked on ‘Views’, select the ‘Add New View’ option that should be visible on the next page.
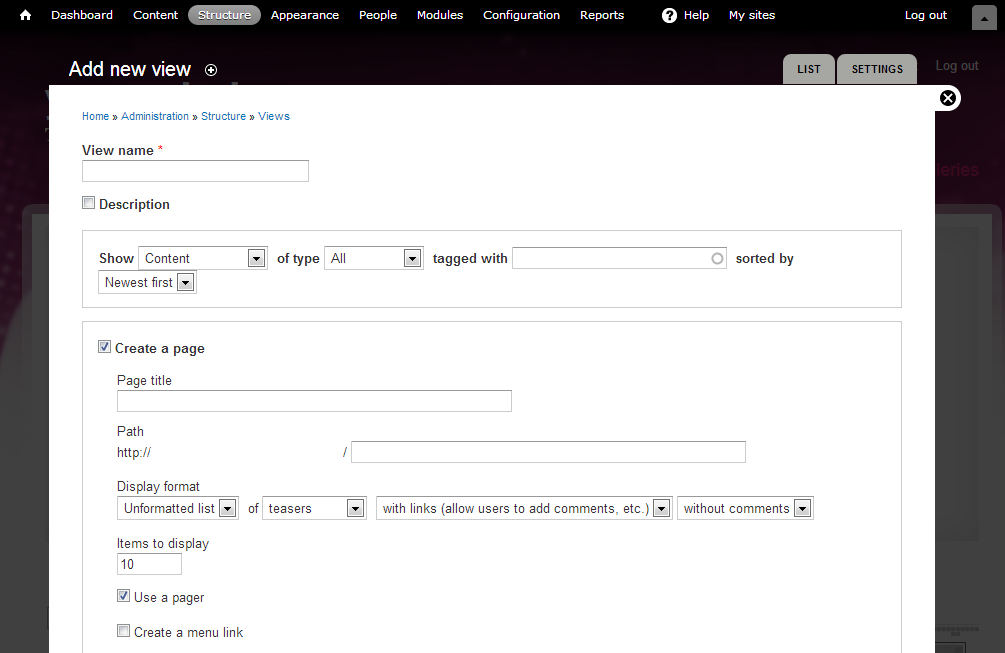
When you add a new view, you will be faced with a form that you’re required to fill.
The first field requires you to name the field which is a mandatory requirement. Set the content type and select the checkbox next to ‘Create a page’. The page title and path will be entered according to the content that you are writing. At this point you can keep the formatting settings at default and proceed to the ‘Create a Menu Link’ option.
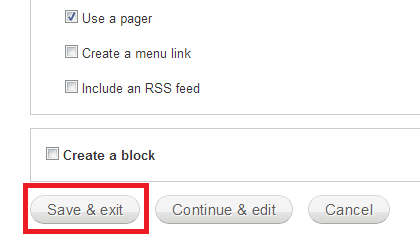
When all the fields have been filled and settings configured, proceed to the bottom of the page and select the ‘Save and Exit’ button.

