If you’ve been gaining substantial internet popularity to warrant your own domain name you will need to move away from free CMS software and move towards a more profession domain name which is hosted. Godaddy is one of the most popular domain sites. In fact there may be multiple reasons for a person to purchase a domain name. Whether it is for future use, resale or the creation of a webpage, the process of purchasing domain names has been greatly simplified by Godaddy.com.
Step 1: Search for your Domain Name
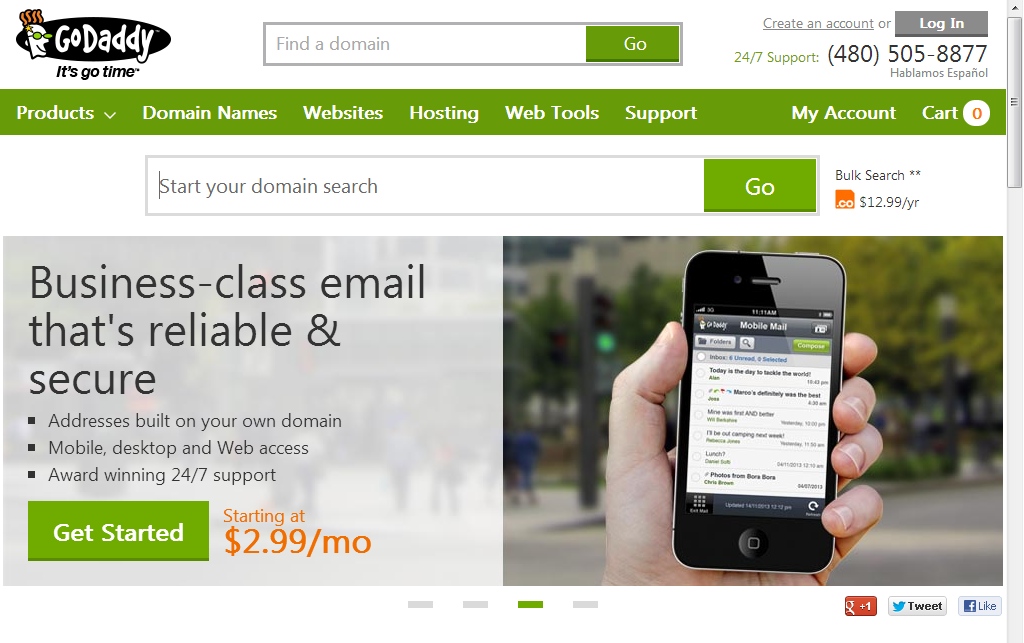
Before you can purchase a domain name you need to make sure that no one has registered it before you. Since domain names need to be unique; chances are that you will have to think of a number of domain names until you can get the one you want. The vast number of sites on the internet all over the world has made finding unique domain names difficult. In order to find out whether your domain name is unique you will have to visit the Godaddy.com website and search for it in the search bar.
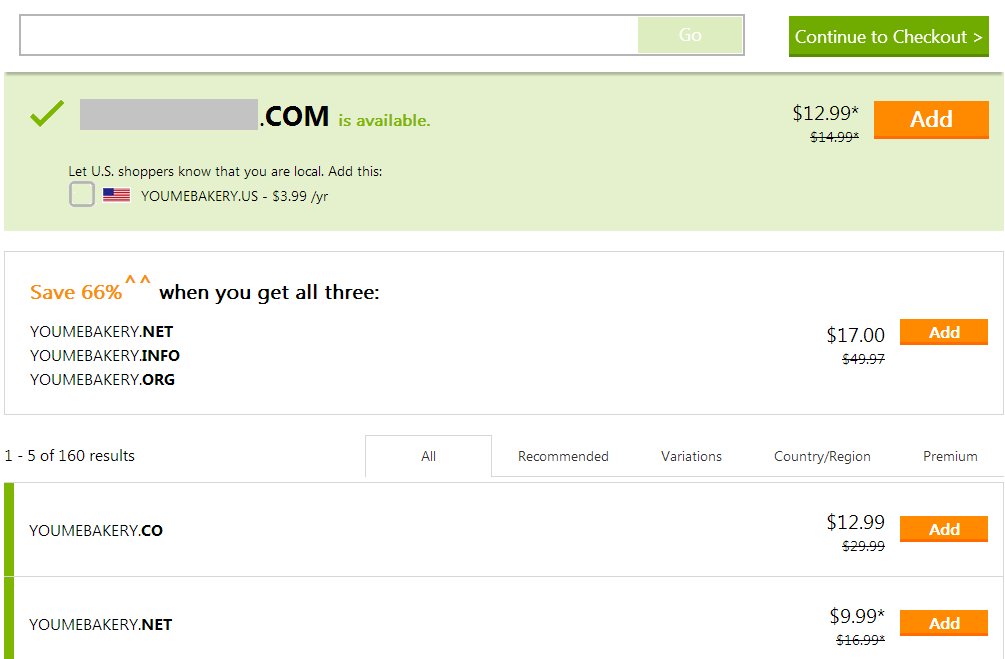
At this point, domain names are a complete gamble. If you’re lucky enough, no one will have registered your domain name. Realistically however, the domain name may already be owned by someone. If you’re keen on getting your preferred domain name you may contact the owner of the domain and purchase it from them but many similar domains my still be available with very little variation. In fact you can opt for another extension such as “.org or .net” and keep your preferred domain name.
Step 2: Extensions?
If you’ve found a unique domain name that you want to keep, you will be prompted by Godaddy about buying multiple extensions. This is usually done by larger corporations who want a hold on all of their identities and make sure that their customers do not accidentally visit other sites with the same name. To avoid such problems, you may want to purchase the major extensions such as .com, .org.net or any other location based extensions.
Step 3: Checkout
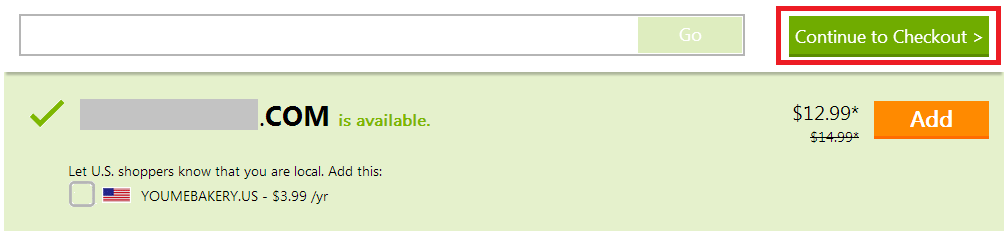
If you are satisfied with the domain name that you have received you can click the “Continue to Checkout” button to proceed to the check-out page.
Once you proceed towards the checkout page you will be asked whether you are an existing or new customer. Existing customers typically have a profile set up at Godaddy.com with their information and payment details. In this case, you will have to create a new profile to complete the purchase.

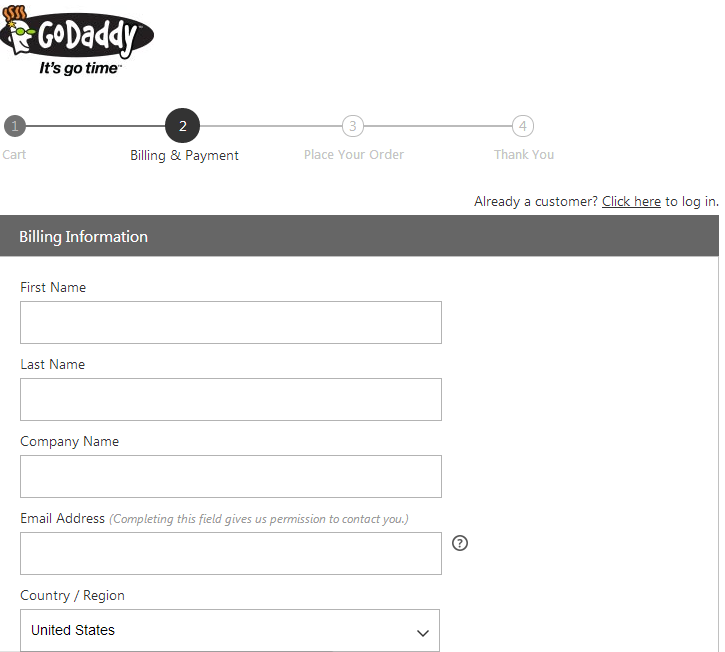
Step 4: Billing Information
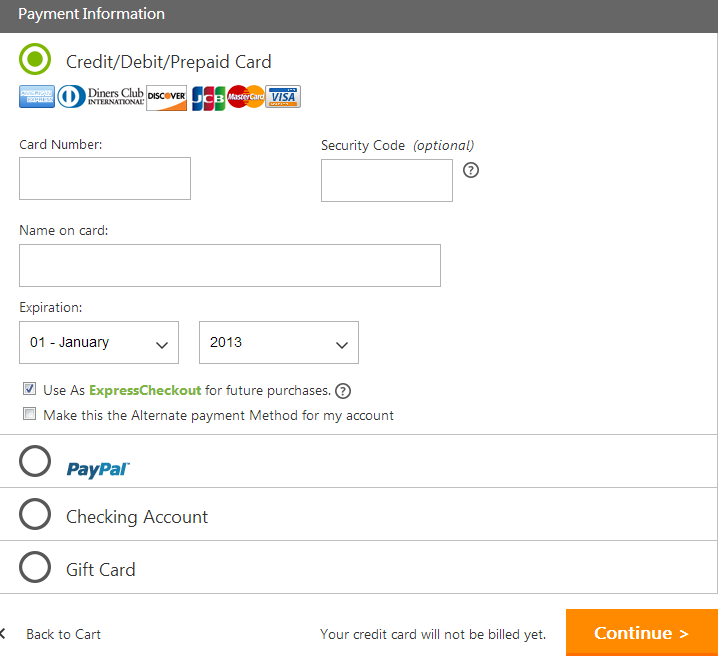
Once you click continue you will be prompted to move on to the billing information form. This will simply ask you for your personal details and contact information. You will have the option to either pay through your credit card, PayPal or a gift card.
Click ‘continue’ to verify your order and you will be redirected to the order completion page. Once your transaction has been completed you will be the proud owner of your very own domain name.