Drupal has already established itself as a popular and effective content management system which allows you to create your own websites and blogs. Recently they unveiled their new Drupal Gardens which not only sported a very different look but also featured some very different features. Drupal Gardens was introduced in order to cater to the needs of bloggers who were not aware of the technical aspects of blogging. With pre-installed modules, creating a Drupal Gardens blog is a simple step by step procedure.
Step 1: Visit Drupal Gardens
The very first step to begin creating your own blog on Drupal Gardens is to visit the main page of the site. When you visit DrupalGardens.com you will be greeted by the landing page which looks like the one displayed below.
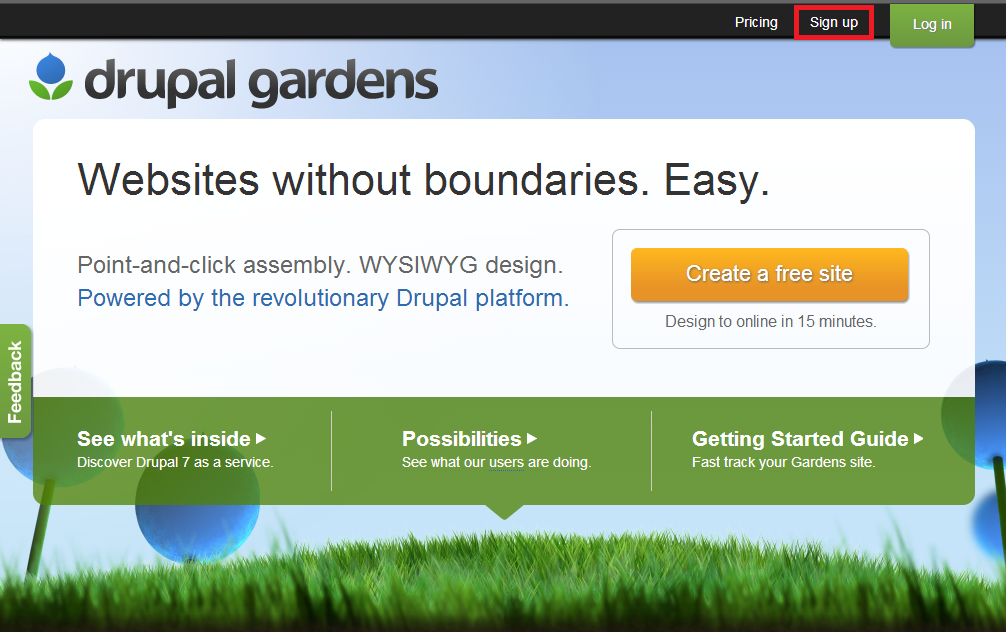
If you already have an account you can simply proceed by clicking the yellow button which says create a free site. In case you don’t have a pre-existing account, you will have to click the Sign Up button as shown above.
Step 2: Fill the Sign-up form
Once you’ve clicked the Sign-Up button, you will be redirected to the form which will ask for your basic information and verify whether or not you are an automated program.
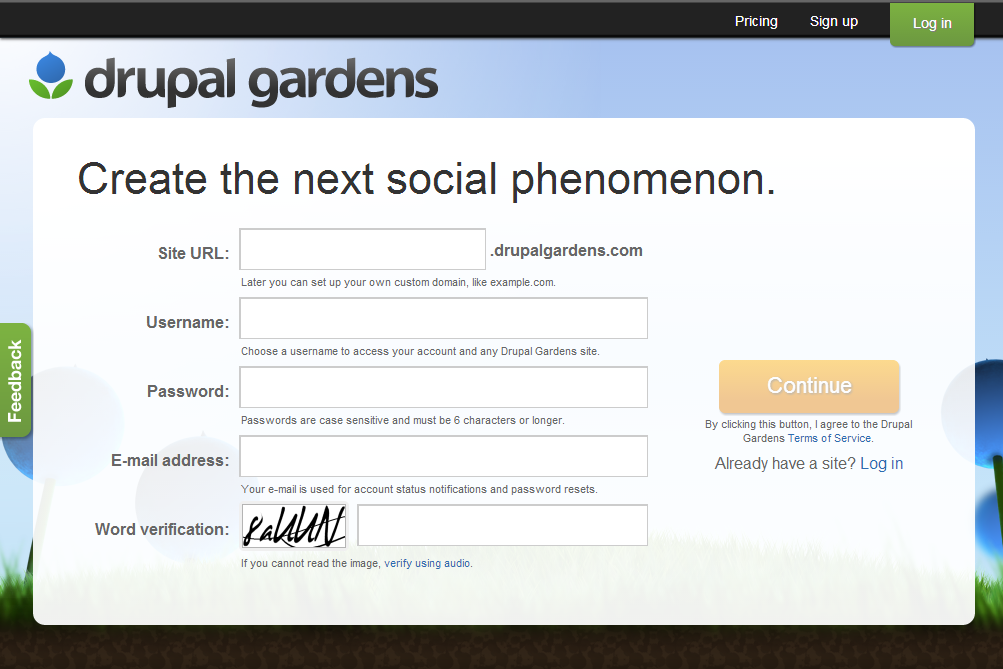
You will notice that the very first field asks for the preferred URL for your website. This is followed by the domain name ‘.drupalgardens.com’. This is because your website will be hosted on the Drupal gardens server and will be a sub domain of Drupal Gardens. You can remove the domain name and have an exclusive URL by purchasing your own.
Step 3: Choose your Template
At this point you will be asked about the features that you require on your page. A list of collapsible features will be displayed that you can choose to include in or exclude from your blog. Hovering on each of the options will provide you with further details about the particular feature.
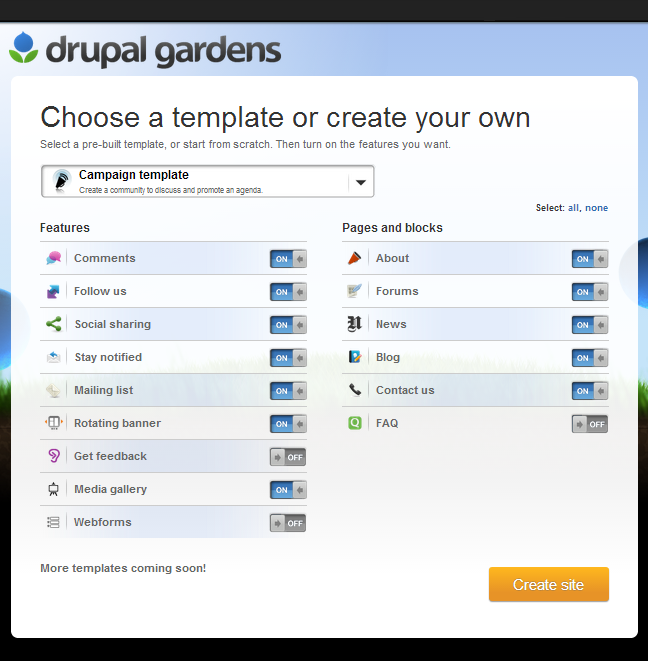
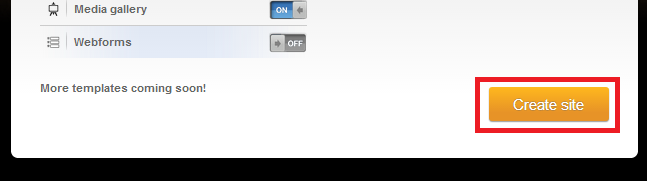
These can be modified at any time in the future. Once you’ve selected your preferred template and associated features, click the Create Site button to move on to the next step.
Step 4: Verify Your Email
Drupal Gardens will require verification from your email address about the site that you are creating.

At this point you will have to head over to the email account that was provided at the time of Sign-Up. Drupal gardens will have sent two verification emails. The first one will be an account verification email for the site that you have created. Click on that to move further with the site creation process.

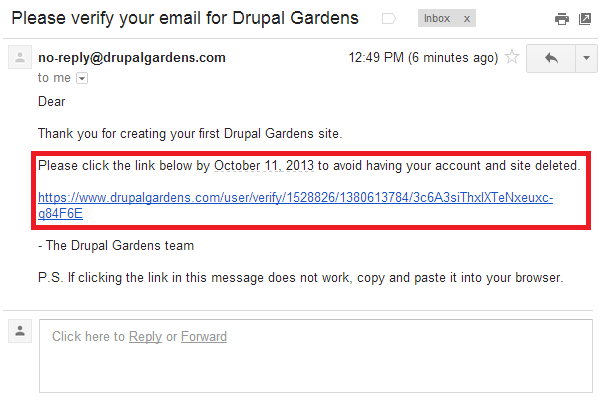
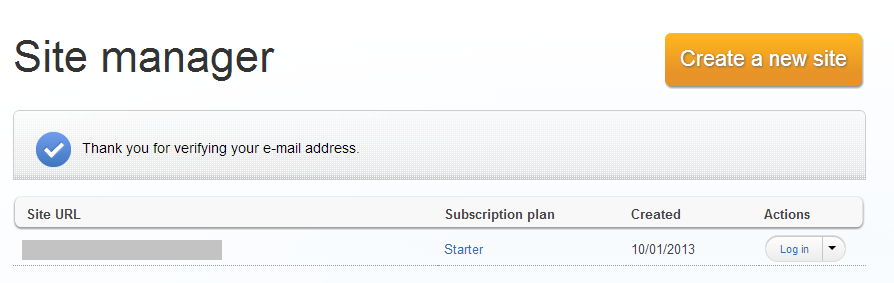
Clicking on the link will directly lead you to a page which will confirm that the verification process has been complete and that your site has been created. The URL of the site will be displayed below.
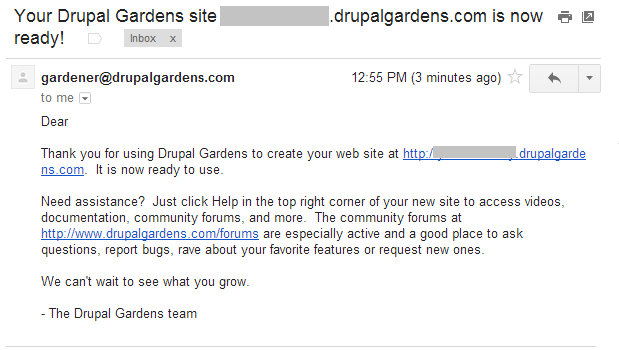
If you were wondering what the other email referred to, here is the snapshot below.
Step 5: Start Customizing
Clicking on the URL once your account has been verified will lead you directly to the administrator page of your Drupal Gardens blog where you can start modifying your Drupal Blog. You can make changes and add or remove authors by visiting the dashboard.