How to Install WordPress Manually

WordPress is perhaps the most popular Content Management System available for use today. The versatility, flexibility and customizability of WordPress is what has made it the most popular blogging platform today. WordPress can be credited with providing the local blogger with a platform to voice their opinions without the need to gather any knowledge about HTML or Web design.

Although a WordPress blog can be created entirely online, some web or blog owners may want some more control over the content of their site. In that case, WordPress allows them to manually install WordPress on to their computers and make changes to the content as they would to a website.

Install WordPress Software

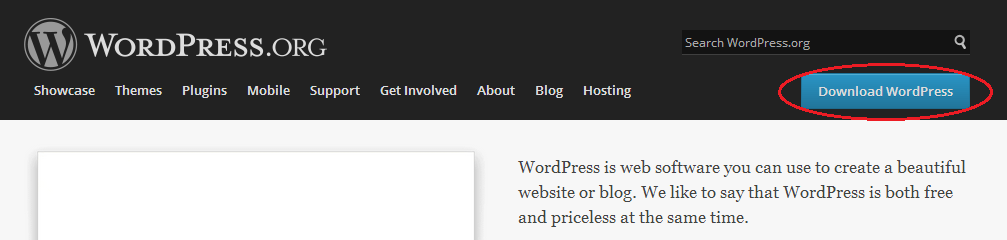
The very first thing that you need to do is to visit the WordPress website and download the latest version of their software. Make sure to go to WordPress.org rather than WordPress.com.

How to Install WordPress Manually

Once you’ve downloaded the WordPress kit, you will need to locate the package and extract it to a new folder.

Upload Files to Server

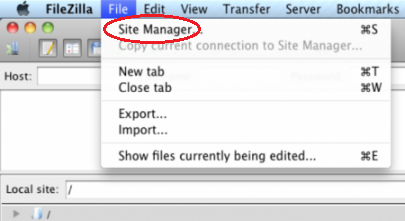
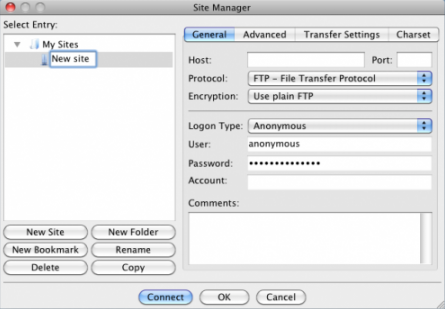
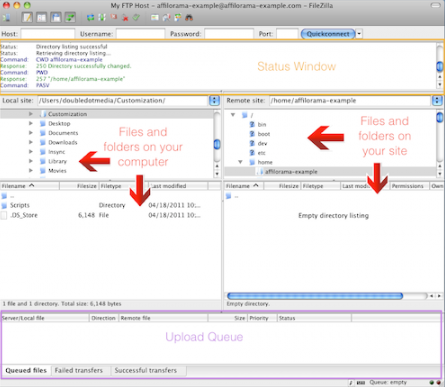
These files will then have to be uploaded to the web server. In order to upload the installation files you’ll have to use FTP (File Transfer protocols). This will have to be done using a client application such as cPanel or Filezilla. Upload files to the public_html folder if this WordPress installation will be the main one for the website. A subfolder may also be created in order to run the website partially.

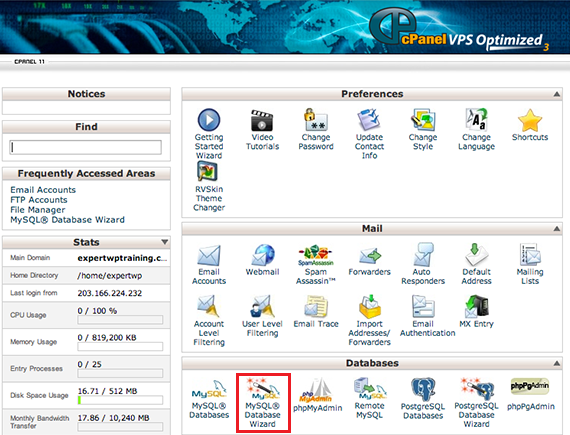
Set up the MySQL Database

Select the MySQL Database wizard which will guide you through the entire procedure.

 How to Install WordPress Manually

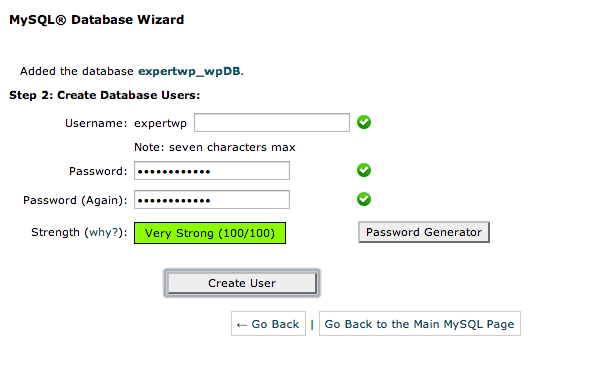
Once you’ve followed through the instructions by the wizard about how to create a MySQL database, you’ll be required to enter the name of the database, the username and the password. This information should be kept somewhere safe since it’ll be required at a later point during the installation. Make sure that the user has all privileges assigned to the database.

How to Install WordPress Manually

Begin Installation

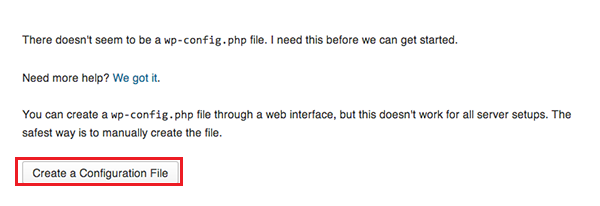
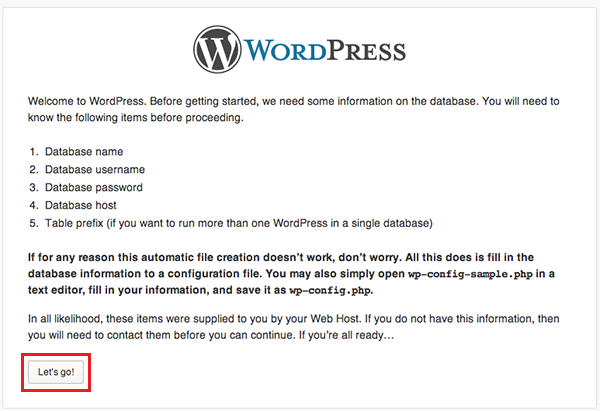
Open up your internet browser and try to access the new domain that you have just created. If you see an error message on the screen s follows, you have successfully installed WordPress.

There doesn’t seem to be a wp-config.php file. I need this before we can get started.”

Click the Create a Configuration File button in order to proceed to the next step.

How to Install WordPress Manually

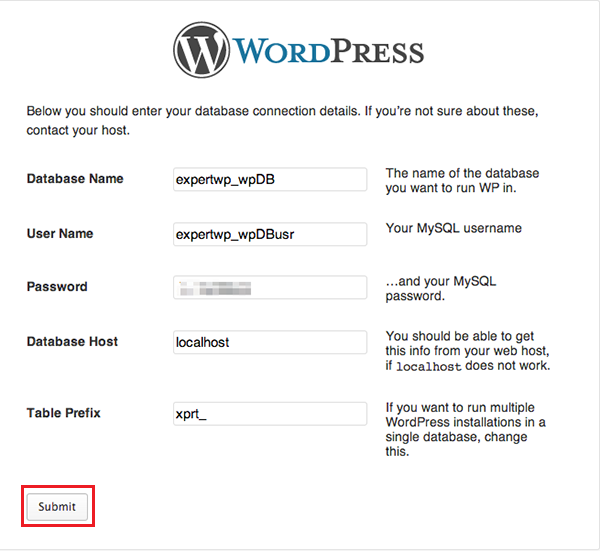
Enter you Credentials

The next page should ask for the credentials that you were asked to remember or keep safe. These include your Database name, username, password, host and the table prefix. Hit the ‘Lets Go’ button to proceed.

How to Install WordPress Manually

Enter the credentials in the form that will be displayed on the next page and click Submit.

How to Install WordPress Manually

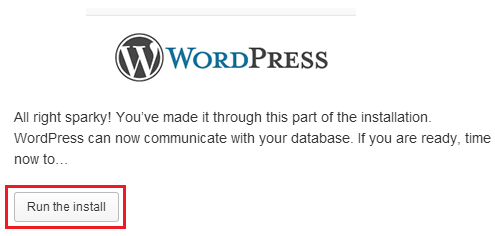
WordPress will then verify the settings and make sure that they are accurate. If the information has been correctly entered in the previous screen, you will be shown a confirmation screen. Click the Run the Install button.

How to Install WordPress Manually

The next page will ask you for user information, email address and the password that you will use to log in to your WordPress account. The privacy checkbox in the end is to make sure that the website is completely ready before it start showing up in search engine results/. This option may be changed at a future date upon completion of the site.

How to Install WordPress Manually

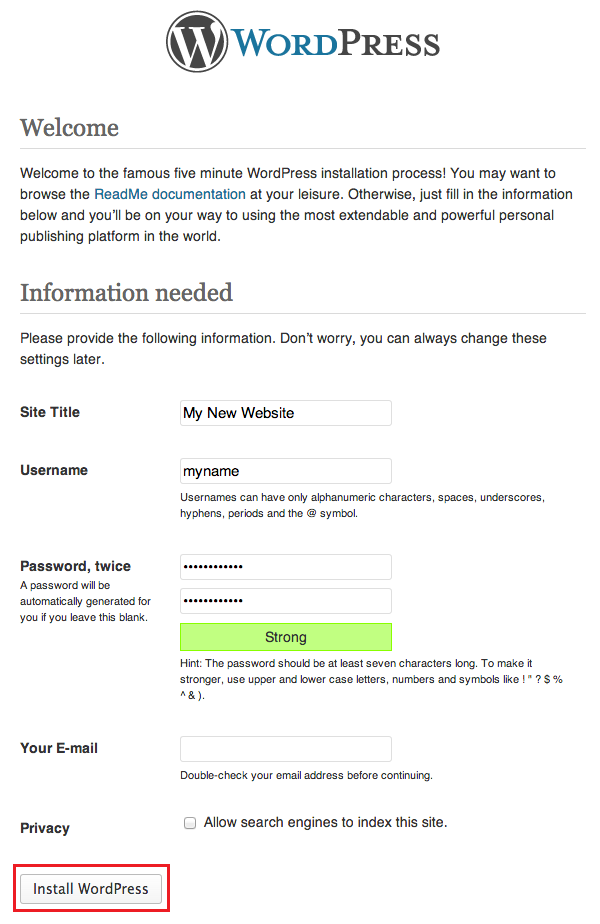
Once you’ve filled out the user information, simply click the Install WordPress button to finish the installation process.

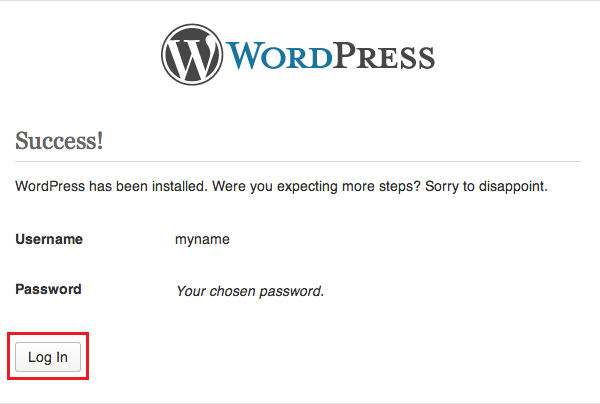
You should now be able to see a cheeky success page upon completion. Click Log in to begin customizing your site.

How to Install WordPress Manually

Enhanced by Zemanta

Using Filezilla to move files from the Computer folder to Hosting site

Although there are several CMS (Content Management Systems) available today, there are many reasons why you would opt to create your own custom website. No matter how versatile a CMS is, a custom website provides much more flexibility.

Unlike CMS systems however, the website needs to be hosted onto a server using FTP (File Transfer Protocols. Once such programs which allows you to en files over FTP is Filezilla. Filezilla is open source software available for Windows and Mac OSX.

Connect to Your Site

After Filezilla has been installed, you’ll need to define the path that will tell Filezilla what it is connecting to. In the toolbar displayed at the top; click on the ‘File’ option. The drop down menu that is revealed will contain an option, ‘Site Manager’.

Using Filezilla to move files from the Computer folder to Hosting site

Once you click on ‘Site Manager’, a window will pop up asking for details about the new site that you wish to create. Once you click on ‘New Site’, an icon will appear underneath the ‘My FTP Sites’ panel. The new icon will be named ‘New Site’ by default. You can always change this according to your preference.

When you click ‘New Site’, a number of options will appear on the right. Most of the information required at this point will be the same as the one provided to you by your web hosting company at the time of sign-up.

Using Filezilla to move files from the Computer folder to Hosting site

The first empty field requiring the Host will be the same as your domain name. This will be among the information that was provided by the web host. The next field Protocol will be set at the default FTP option.

In the Logon Type option, select Normal, and enter the username and password in the fields displayed below. The username and password ill also have been provided by the web hosting service. Once all the information has been entered, click the ‘Connect’ button to save the information and connect to the site.

Locate Files

The main Filezilla window will now be divided into multiple sections. The Status Window at the top will have a series of text scrolling. This is actually the FTP’s attempts to communicate with the server that you just defined. Once the connection I established, you will have access to your site.

Some other windows will then appear within the main window on the right.

Using Filezilla to move files from the Computer folder to Hosting site

The panel on the right represents the files and folders that are present on the server. Depending upon the features that have been provided by the web hosting company, the panel may display a number of files and folders. The folder that we’re concerned with for file transfer however is the one that will contain the files and images that will be displayed on the website. This folder will typically be named, ‘public_html’, ‘www’ or ‘httpdocs’. Double clicking the directory will provide you access to the folder.

Drag & Drop

The windows that are displayed on the left show the files and folders that are present on the computer. Navigate through these files and folders to locate those that need to be published on the website. Clicking on a folder will reveal the contents in the larger window below. Files can be published simply by dragging and dropping into the destination folder in the right hand window. Alternatively you may even right click the target file and select ‘Upload’. The data that you drag into the right window will be automatically uploaded to the site since Filezilla does not have a ‘Publish’ button.

Enhanced by Zemanta