How to Install Drupal Modules

Once you have installed Drupal and are ready to start your own blog or site, you will need to customize it according to your preferences. In order to make it look like a professional site, a number of features will need to be added. This can be done through the easy ‘modules’ option in Drupal. Although Drupal comes with preinstalled modules, there are some features that you may want to add to provide authenticity to your blog or site. Once installed, these modules may be disabled or enable according to your will.

Navigate to modules

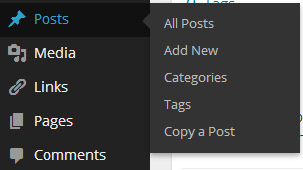
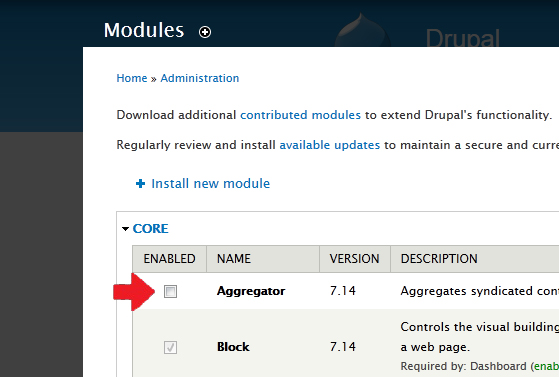
Make sure you are signed in as an admin on your Drupal site. The toolbar at the top should display a number of options. Locate ‘Modules’ from among them and click on it.

How to Install Drupal Modules

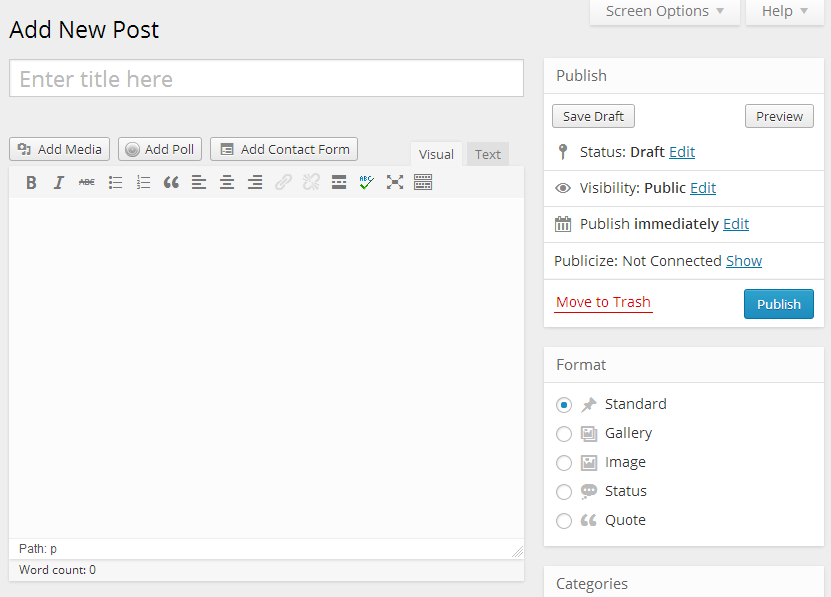
Clicking on ‘modules’ will lead to a page where you will be able to view a list of pre-installed modules. The checkboxes next to the modules will allow you to select any particular module and enable or disable it.

How to Install Drupal Modules

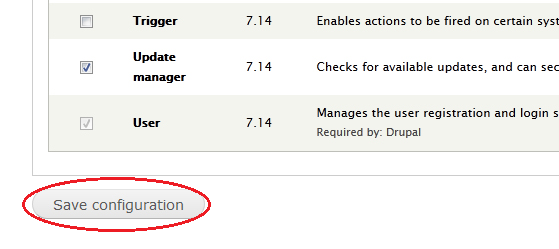
In order to save the changes made to the enabled or disabled module click the button at the bottom of the page, ‘Save Configuration’.

How to Install Drupal Modules

Installing Modules

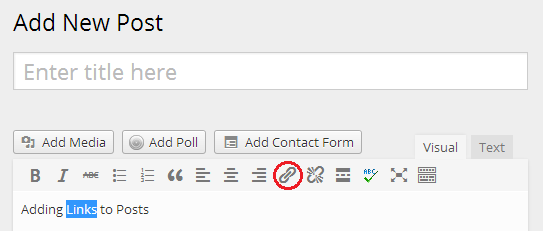
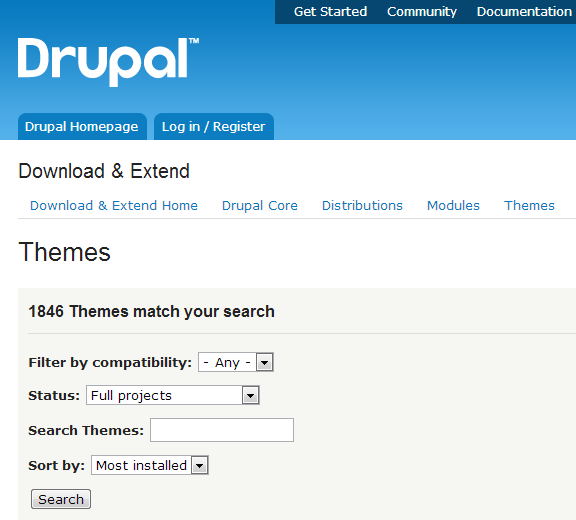
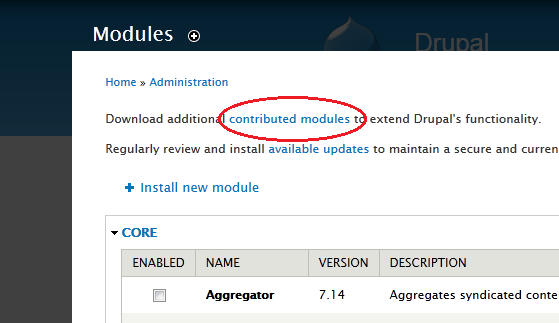
In order to add modules that are not shown in the list, you will need to install them. The very first line of the page will contain blue hyperlinked text stating, ‘contributed modules’. Clicking on the link will lead you to a page where you can search for any particular module from a database of contributed modules.

How to Install Drupal Modules

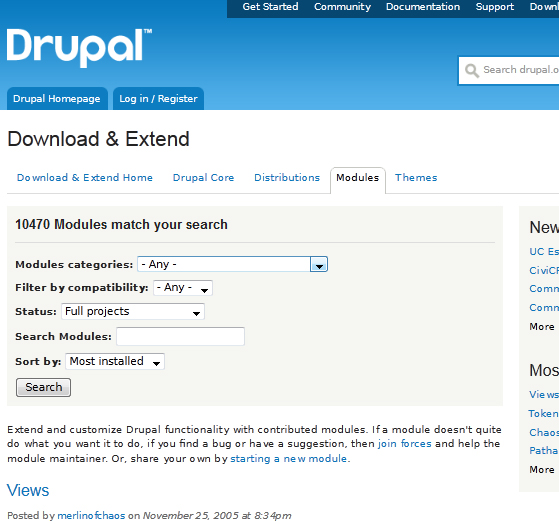
Enter the Search criteria in the form shown below in order to reach the desired module.

How to Install Drupal Modules

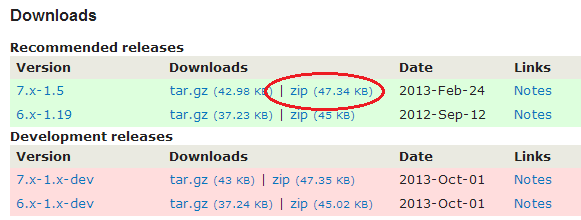
Once you’ve found the module that you wish to install, download the zip file from the modules directory of Drupal. The file will then be saved onto your computer.

How to Install Drupal Modules

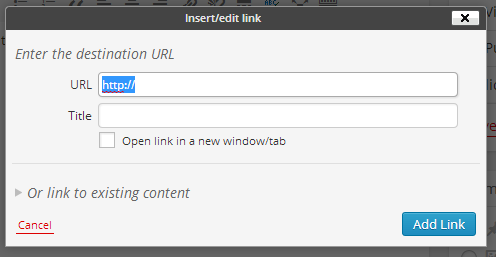
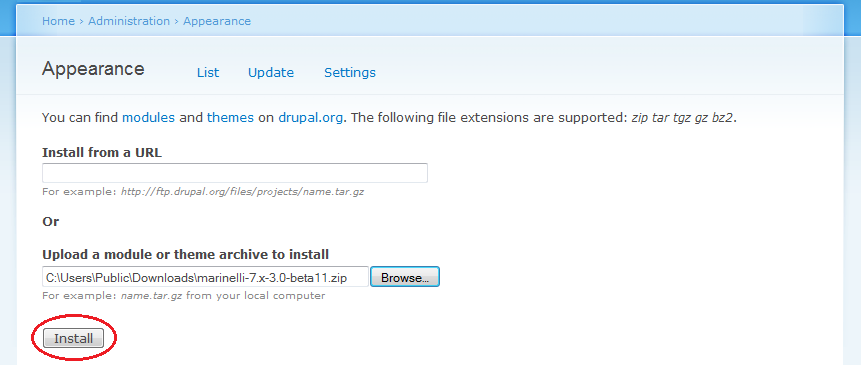
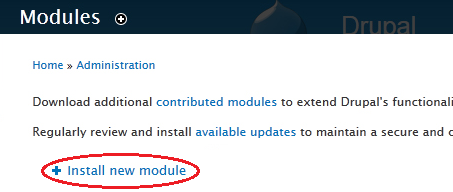
Return to the Modules page on Drupal and click on the ‘Install New Module’ option.

How to Install Drupal Modules

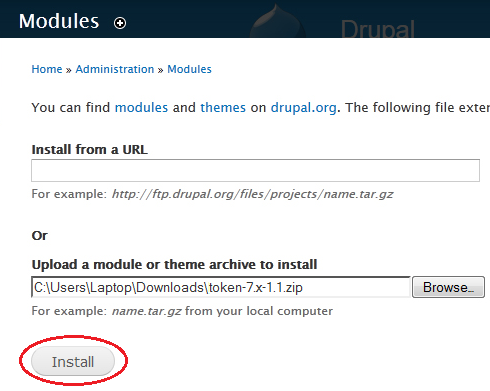
The new module can either be installed using a URL or by locating the zipped file that was downloaded earlier. Once the file has been located, click the ‘Install’ button displayed at the bottom of the page.

How to Install Drupal Modules

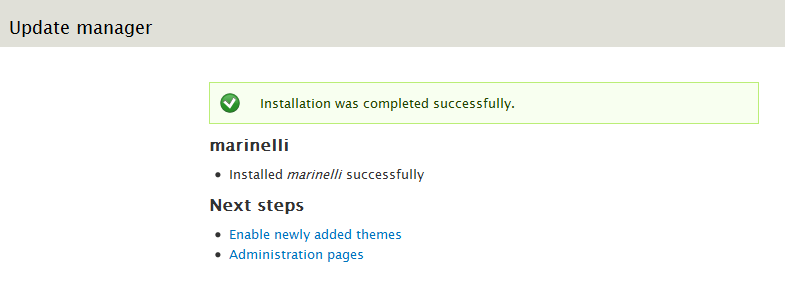
Congratulations! You’ve successfully installed a module to Drupal. Make sure to regularly check the module for updates by clicking on the ‘available updates’ option. Modules can also be uninstalled at any time simply by clicking on the panel at the far right of the page.

Enhanced by Zemanta

Adding Content to a WordPress Blog

Once you’ve created your WordPress blog, you will need to add content to it. Chances are you have something brilliant to share with the world but just don’t know how to add it to your WordPress blog in a compelling, engaging and accurate way. Although uploading to WordPress may seem complicated at first, it’s like snapping your fingers once you get the hang of it.

Content that is posted to WordPress may be in the form of text, links, images or video. To get started, you will need to know how to access posts in the dashboard in order to create a new one.

Add a New Post

Once you’re logged in as the administrator of your WordPress blog, you will be able to view the dashboard panel on the left. At this point, you may either decide to create a new page or a post. A post will simply be added to the page that you have selected. If you run a traditional blog, it will in a linear fashion and posts will simply be added above the previous post on a single page. In order to add a new post hover over the posts option in order to reveal a menu. Click on Add New to create new post.

Adding Content to a WordPress Blog

Edit the Post

WordPress has a WYSIWG editor which means that the manner in which you format within the editor will be the final product that will be displayed on the blog. You can also simply copy text from an Ms Word document into the editor.

Adding Content to a WordPress Blog

Links

Links can be added to posts within the editor. Make note that the link option does not become visible until you have highlighted the text to be hyperlinked.

Adding Content to a WordPress Blog

The next screen will ask for the URL that the text will create a path to along with a title. Click on Add Link in order to create a link within your blog post.

Adding Content to a WordPress Blog

The link to existing content allows you to link to previous blog posts made to the blog.

Images

To add images to your content, click on the Add Media button. This will open up a window which will allow you to add all kinds of media into the blog post.

Adding Content to a WordPress Blog

At this point, you can select from existing media that you had previously uploaded, add a link to an image on the internet or upload one from your computer.

Adding Content to a WordPress Blog

Drag and drop the files into the window or click the Select files button in order to upload them to WordPress. Once uploaded, click on Insert into Post, in order to add the image to the post.

Enhanced by Zemanta

Installing Drupal Themes

One of the most popular Content Management Systems (CMS), Drupal provides flexibility and versatility to users who have no specific knowledge when it comes to blog or sit creation, enabling them o make professional looking pages in no time. This ability and user friendliness is what attributes to the rise in the success of Drupal.

Once you’ve created a blog on Drupal, it would be looking a little forlorn with the default blue and white colors of the site. In order to customize it, you will need to install a theme according to your preferences and the nature of the content that you will be uploading to the page.

Locate themes

You can search for a theme in Drupal’s own directory where a multitude of themes have been installed. You can either browse through or select the theme that you prefer or enter a search query according to your requirements.

Installing Drupal Themes

Once you’ve selected the theme that you would like to install onto your Drupal blog, click on the zip file to download it to a location onto your computer.

Installing Drupal Themes

Make sure that the version is compatible with the Drupal version that you are using.

Log In as Admin

Once you have obtained the file for the theme that you are going to install, you need to up-load it to Drupal in order to apply it to the blog. Log in to your Drupal site as admin and click on the Dashboard. Click on ‘Appearance’ and then on ‘Install new themes’.

At this point you will be prompted to either provide a URL linking to the desired theme or to upload a file. Since we’ve downloaded a theme to the computer, we’ll select the second option. Click Browse to locate the file and click the Install button at the bottom of the page.

Installing Drupal Themes

Enable the Theme

Once installed, a message will be displayed on screen notifying you of the successful installation of the theme. The next two steps will also be outlined within the window.

Installing Drupal Themes

Visit the ‘themes’ page on your dashboard and locate the Disabled themes. The recently installed theme should now show within the list

Installing Drupal Themes

Click the Enable and Set Default link in order to apply the theme to the blog.

Drupal is highly flexible an easy to use when it comes to customization. With this feature you can change the look of your blog whenever you choose. You can always disable the theme; install a new one or even enable a previously installed theme.

Enhanced by Zemanta